Updated on Kisan Patel
This tutorial will explain you how to use the DatePicker controls in a WPF application?
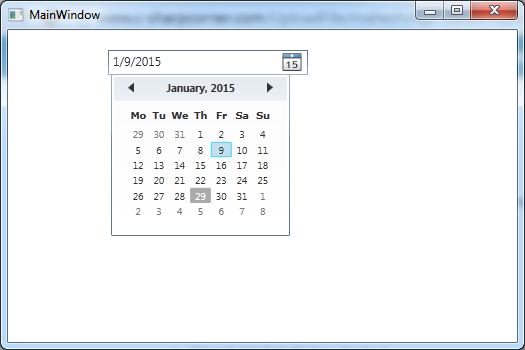
Lets first create a new WPF project and name it “WPFDatePickerDemo” and add the DatePicker control as shown in below code in MainWindow.xaml file.
<Grid>
   <DatePicker Height="25"
               HorizontalAlignment="Left"
               Name="DatePicker1"
               VerticalAlignment="Top"
               Width="200"
               FirstDayOfWeek="Monday"
               SelectedDateFormat="Short"
               Margin="100, 20, 0, 0"
   />
   <Button Name="SubmitButton" Content="Submit" Width="100" Height="30" Margin="150, 80, 0, 0"
              HorizontalAlignment="Left"
              VerticalAlignment="Top" Click="SubmitButton_Click"/>
</Grid>

In above code, we have added a DatePicker control and changed the date format and the first day of week.
Now, Generate SubmitButton click event and add the below line of code inside MainWindow.xaml.cs code.
private void SubmitButton_Click(object sender, RoutedEventArgs e)
{
      DateTime? datepicker = DatePicker1.SelectedDate;
      MessageBox.Show(datepicker.Value.ToString());
}
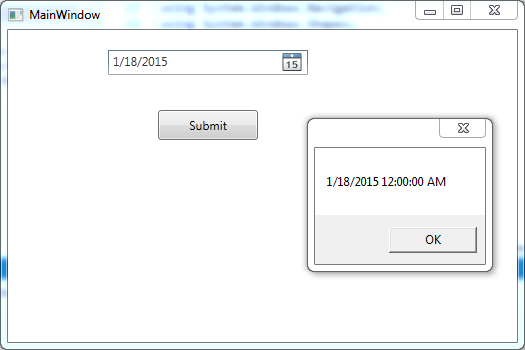
In above code, we have show the value of DatePicker in the message box using DatePicker SelectedDate property. DatePicker SelectedDate property returns a nullable DateTime as shown in above code.
The output of this WPF application will be:
