Updated on Kisan Patel
This tutorial will explain you how to work with StackPanel control in WPF application?
The StackPanel control allows you to add child elements in a single line, either vertically or horizontally. The default setting is vertical alignment. The alignment of the elements is set by using the VerticalAlignment or HorizontalAlignment properties.
Lets create a new WPF application and name it “WPFStackPanelDemo” and add the below code to the MainWindow.xaml file.
<Window x:Class="WPFStackPanelDemo.MainWindow"
   xmlns="http://schemas.microsoft.com/winfx/2006/xaml/presentation"
   xmlns:x="http://schemas.microsoft.com/winfx/2006/xaml"
   Title="MainWindow" Height="350" Width="525">
    <StackPanel>
        <TextBlock Margin="10" FontSize="18">What is your Name?</TextBlock>
        <Button Margin="10">Button1</Button>
        <Button Margin="10">Button2</Button>
        <Button Margin="10">OK</Button>
        <Button Margin="10">Cancle</Button>
    </StackPanel>
</Window>
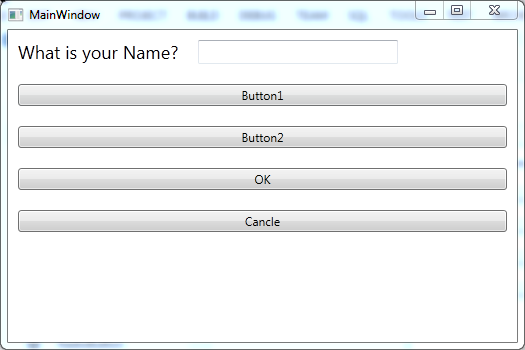
The output will be:
The Orientation property allows you to change the placement of child controls. You can set the property to either Vertical or Horizontal.
<StackPanel>
   <StackPanel Orientation="Horizontal">
       <TextBlock Margin="10" FontSize="18" >What is your Name?</TextBlock>
       <TextBox Margin="10" Name="Name" Width="200"/>
   </StackPanel>
   <Button Margin="10">Button1</Button>
   <Button Margin="10">Button2</Button>
   <Button Margin="10">OK</Button>
   <Button Margin="10">Cancle</Button>
</StackPanel>
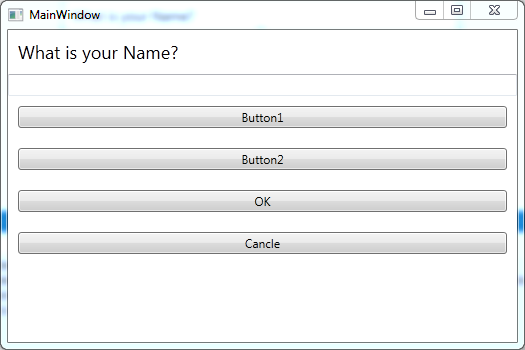
The output of above XAML code will be: