Updated on Kisan Patel
In this tutorial, you learn how to create message box and dialog box using MessageBox class in a WPF application.
The MessageBox class allows you to create message boxes. Message boxes sre used to display some information that can further be used to confirm a specific actions.
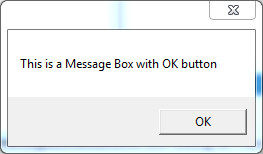
The MessageBox class has the Show() method that allows you to display a message box. When the message box appears, by default an OK button is displayed.
MessageBox.Show("This is a Message Box with OK button");
However, you can also display other buttons, such as Cancel, Yes and No buttons.
MessageBox.Show("This is a Message Box with Yes, No and Cancel button", "Message Box", MessageBoxButton.YesNoCancel);
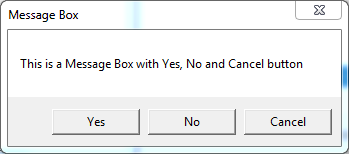
In above code, we have used MessageBoxButton enumeration to specify the buttons that you want to display in the message box. The following values you can specify to MessageBoxButton enumeration:
If you want to take some action based on the button that a user has clicked, then you can capture the result in an instance of the MessageBoxResult class.
MessageBoxResult result = MessageBox.Show("Are you sure you want to delete?", "Delete Confirmation", MessageBoxButton.YesNo);
if (result.ToString() == "Yes")
{
   MessageBox.Show("Deleted Successfully");
}
If you want to convey the readers whether the message is a warning, question or other, then you can display an icon on the message box by using the MessageBoxImage enumeration.
MessageBoxResult result = MessageBox.Show("Are you sure you want to delete?", "Delete Confirmation", MessageBoxButton.YesNo, MessageBoxImage.Question);
if (result.ToString() == "Yes")
{
    MessageBox.Show("Deleted Successfully");
}
The following values you can specify to MessageBoxImage enumeration:
Lets create WPF application to understand how to work with MessageBox class in WPF application.
First create new WPF application and name it “WPFMessageBoxResultDemo”.
Now, add the button inside Grid element of the MainWindow.xaml file.
<Grid>
    <Button Name="Button1" Width="200" Height="50" Content="Open Message Box"/>
</Grid>
Next, double-click the Button1 in the design view. The code-behind file MainWindow.xaml.cs file open and the handler of the Click event of the Button1 is included and that is, the Button1_Click() method.
Next add the below code inside Button1_Click() method.
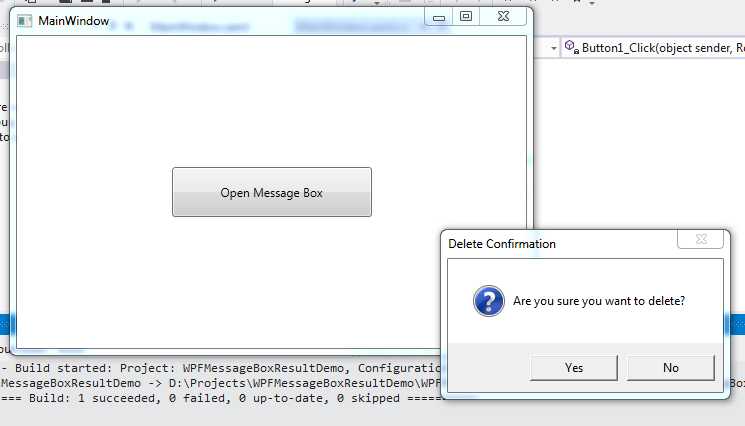
private void Button1_Click(object sender, RoutedEventArgs e)
{
     MessageBoxResult result = MessageBox.Show("Are you sure you want to delete?", "Delete Confirmation", MessageBoxButton.YesNo, MessageBoxImage.Question);
     if (result.ToString() == "Yes")
     {
        MessageBox.Show("Deleted Successfully");
     }
}
Now, run the application and click the “Open Message Box” button. The Delete Confirmation message box appears as shown in below screenshot.