Updated on Kisan Patel
This post will explain you how to setting absolute position of child controls using Canvas control in WPF application.
The Canvas control is the simplest container control that supports absolute positioning of its child controls by using the coordinates that are relative to the Canvas control.
When you place a control in the Canvas control, you must specify one horizontal property and one vertical property to specify the starting position of the child control inside the Canvas control. By default, the Height and Width properties of the Canvas control are set to zero.
Lets create a new WPF application and name it “WPFCanvasDemo” and add the below code to MainWindow.xaml file.
<Window x:Class="WPFStackPanelDemo.MainWindow"
    xmlns="http://schemas.microsoft.com/winfx/2006/xaml/presentation"
    xmlns:x="http://schemas.microsoft.com/winfx/2006/xaml"
    Title="MainWindow" Height="350" Width="525">
     <Canvas>
         <Label Content="What's your Name?" FontSize="20"
                   Canvas.Left="80" Canvas.Top="100"/>
         <Button Canvas.Left="120" Canvas.Top="150"
                   Content="Submit Button" Height="30" Name="Button1"></Button>
     </Canvas>
</Window>
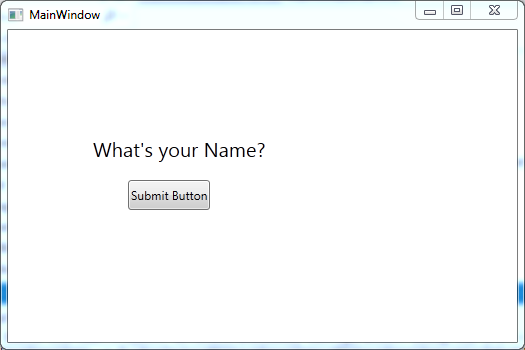
To position a child control on the Canvas control, you need to set its Canvas.Top, Canvas.Left, Canvas.Right, or Canvas.Bottom property.
The output of the above XAML code will be: